Average insulation wall thickness based on the differential measurement
March 31, 2017

Today, measuring and control technologies are an industrial standard in cable production lines with focus on quality control, process optimization and reduction of manufacturing costs. Directly integrated in the production lines, the systems measure in real time the product dimensions such as diameter, ovality, wall thicknesses and eccentricity. A prevailing method for determining the average wall thickness is the diameter differential method. From the values of two diameter-measuring devices the wall thickness is calculated.
40 years ago, the first SIKORA wall thickness measuring devices called ISOWAND based on the principle of differential measurement, where used in insulating and sheathing lines. Today, the measurement of the average wall thickness as well as the control of extruder rpm and line speed is still attractive methods for quality assurance and process optimization.
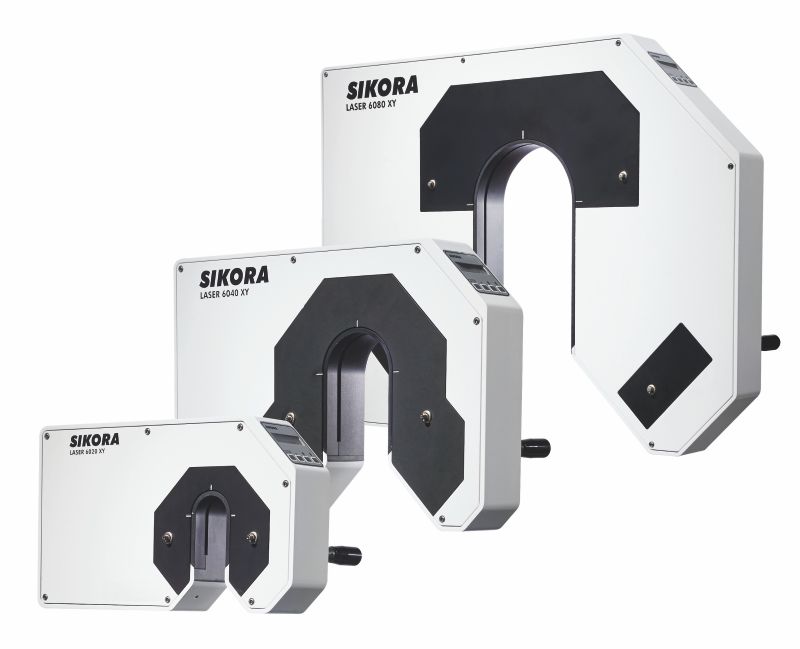
With the diameter differential method, the diameter of the product is measured without contact at coincident points before and after the extruder by SIKORA laser gauge heads. The evaluation is realized in combination with the processor controlled display and control systems ECOCONTROL 1000 or 6000. A delay time memory controlled by the line speed delays the diameter value measured before the extruder until this point of the measurement reaches the position of the second gauge head after the extruder. Using the difference between the diameter measuring values, recorded at the identical position, the average wall thickness is determined with high precision. The material shrinkage is already considered in the displayed wall thickness measuring value. The percentage of the shrinkage value is taken from a recipe or automatically calculated with an additional diameter gauge head at the end of the line from the hot/cold values of the diameter with the Hot/Cold control module HC 2000.
The differential measuring principle is particularly suitable for production lines where an eccentricity measurement is not required. This method is also used in tandem lines, in which case both wall thicknesses are calculated from a measurement before the first and second extruder as well as after the second extruder.
For production lines where, in addition to the wall thickness, eccentricity values of the product are required or where a wall thickness determination by means of a differential measurement is insufficient due to the cable construction, the use of the X-ray measuring system X-RAY 6000 PRO is recommended. This equipment precisely measures in real time the wall thickness, diameter and eccentricity of up to 3 layers of different material. A control of the measuring values is done in combination with the processor system ECOCONTROL 6000.


